Tile set straight, grout lines true, done in days

Kitchen Backsplash Remodel Nashville TN Built to Last

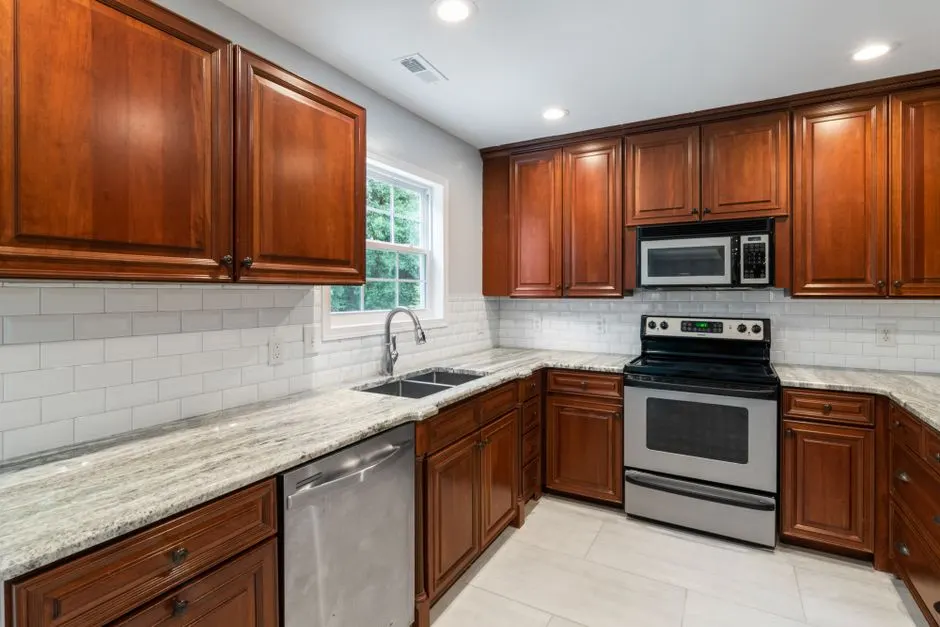
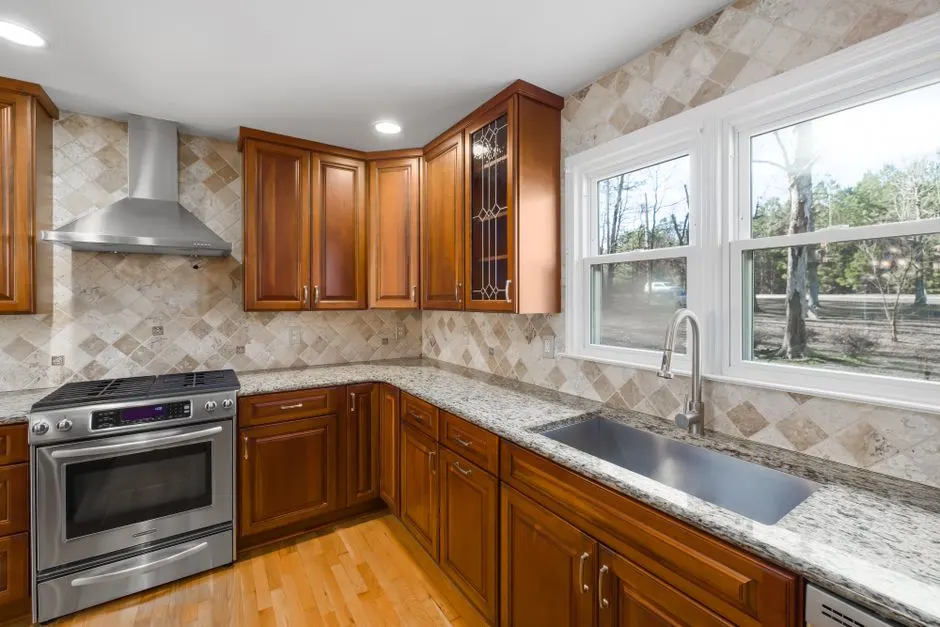
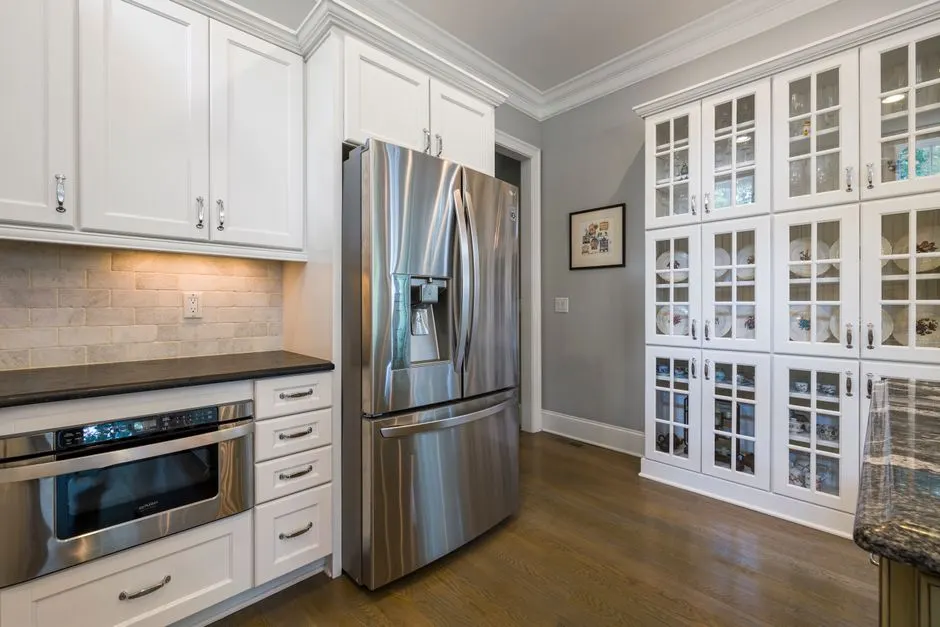
A kitchen backsplash remodel Nashville TN homeowners actually enjoy looking at starts with a flat wall, a dead-on layout, and tile set by someone who does it every week. We handle kitchen backsplash installation Nashville TN from tear-out to final caulk line, working around your counters, cabinets and outlets. Whether you are updating a dated 1990s splash or protecting new quartz, we measure, set and seal it so it holds up to steam, grease and daily wiping.

↗
Fast online booking

Request service today

Tell us what is happening. Our local team will confirm your visit shortly.

No spam. No obligation. Just practical help.
Thanks — we'll call shortly to confirm your visit.
Kitchen Backsplash Remodel in Nashville, Tennessee
Careful work. Honest options.
About this service

What a Kitchen Backsplash Remodel Nashville TN Involves

A kitchen backsplash remodel Nashville TN is the removal of the existing splash material and the installation of a new tile or slab surface on the wall between your countertop and upper cabinets, including the cutouts for outlets, switches and range hoods. The work covers surface prep, substrate repair, layout, tile setting, grout, caulk and sealing. It is a small square footage job with a lot of detail packed into it, which is why the difference between a clean install and a sloppy one shows up in the first six inches.

Most of the calls we get are from homeowners whose kitchens are otherwise fine but the splash is dated, cracked, or was installed over drywall that got wet behind the sink. Others are finishing a countertop swap and need the wall closed up before the new quartz or granite goes in. If you are searching for a kitchen backsplash remodel near me Nashville TN, the practical question is usually timing: can it be done without emptying the kitchen for two weeks? On a typical 30 to 40 square foot splash, yes.

  • ✓ Protects the Wall Behind
  • ✓ Hides Countertop Seams
  • ✓ Updates the Whole Kitchen
  • ✓ Adds Lighting and Outlet Upgrades
What's included

What Our Kitchen Backsplash Remodel Covers

The quote covers tear-out, prep, tile, grout, caulk and cleanup. Here is the line-by-line so you know what you are paying for and what would be a separate scope, like slab fabrication or major electrical.

✓

Tear-Out and Disposal

Removal of the existing tile, adhesive and damaged drywall, plus haul-away. We protect counters and cabinet faces with rosin paper and plastic before any demo starts, and we vacuum with a HEPA unit so dust does not settle into your cabinets.

✓

Substrate Repair and Backer Board

Replacement of damaged drywall and installation of cement backer board in wet zones behind the sink and range. We skim to flat within 1/8 inch over 8 feet, which is the tolerance large-format tile needs to sit flush.

✓

Tile Layout and Setting

Layout planned on paper and set off a laser level, with cuts made on a wet tile cutter and trim cut on a miter saw. Back-buttering on tile over 12 inches, and outlet cutouts measured and cut with a jigsaw rather than nipped in after.

✓

Grout, Caulk and Seal

Grout in the field, siliconized caulk at the counter joint and the cabinet joint, and sealer on natural stone. We use a flexible caulk at movement joints because grout cracks there, and we would rather do it once.

✓

Reinstall and Cleanup

Outlet covers, under-cabinet fixtures and anything else we removed go back on. Haze comes off the tile, floors get swept and wiped, and we walk the job with you before we leave.

How it works

How Our Backsplash Installation Process Runs

01

Measure and Layout

We measure every wall, check for out-of-square corners with a laser level, and find the studs with a stud finder. You pick tile and grout, and we lay out the pattern on paper first so you see where cuts land before anything is glued. This walkthrough takes about 45 minutes.

02

Tear-Out and Prep

Old tile comes off with an oscillating multi-tool and a flat bar. We cut out damaged drywall and replace it with cement backer board in wet zones behind the sink and range. Adhesive residue gets ground off so the new substrate is flat within 1/8 inch over 8 feet, which is what keeps large-format tile from lipping.

03

Tile Setting

We cut tile on a wet tile cutter and a miter saw for trim pieces, then set with a notched trowel and back-butter on anything over 12 inches. A laser level keeps courses true across the whole run. Outlet cutouts are measured and cut with a jigsaw, not nipped in after the fact.

04

Grout and Caulk

Grout goes in after the thinset cures, usually the next morning. We caulk the counter-to-tile joint and the cabinet-to-tile joint with a flexible siliconized caulk instead of grout, because those two joints move and grout will crack there every time. Cure time before light wiping is 24 hours.

05

Clean, Seal, Walkthrough

We remove haze, seal natural stone if you chose marble or travertine, and reinstall outlet covers and any under-cabinet fixtures we removed. Then we walk the job with you, point out the maintenance routine, and leave the kitchen clean enough to cook in that night.

Tools & methods

Tools and Methods We Use on Backsplash Jobs

Purpose-built equipment, used by trained technicians — so the job is done accurately the first time.

Wet tile cutter

Clean, chip-free cuts on porcelain and ceramic, including L-cuts around outlets. A wet blade keeps dust down and the cut edge tight enough to grout cleanly.

Miter saw

Trim, pencil tile and Schluter profiles cut at 45 degrees for corners and edges. A sharp finish blade keeps the profile from tearing out.

Laser level

Sets the first course and checks wall flatness. We set off the laser, not the counter, because counters are rarely level over a full run.

Oscillating multi-tool

Tear-out of old tile and adhesive, and trimming backer board around boxes and cabinet edges without damaging the cabinet faces.

Jigsaw

Cutting outlet and switch openings in tile and backer board. Measured and cut, not nipped in after the tile is on the wall.

Stud finder and cabinet clamps

Locating framing for backer board fasteners and holding trim or edge profiles while adhesive sets.

Caulking gun

Siliconized caulk at the counter and cabinet joints. A smooth, consistent bead is what keeps water out of the wall.

Real results

Before and after.

Galley Kitchen Subway Tile Refresh

Before

A 22 square foot splash in a 1970s galley kitchen, set on painted drywall with cracked grout at the counter and two loose tiles behind the sink. The wall behind was soft to the touch.

After

Tear-out, new cement backer board behind the sink, and a 3x6 white subway tile in running bond with a light gray grout. Set in a day and a half, grouted the next morning. The counter joint is caulked and the wall is dry.

Large-Format Porcelain Behind New Quartz

Before

New quartz countertops had just gone in on a 38 square foot run, leaving a gap at the wall and an out-of-level counter by a quarter inch over the length. The old 4 inch splash had been removed.

After

12x24 porcelain set off a laser rather than the counter, back-buttered, with 1/16 inch grout lines and outlet cutouts centered in the tile. Finished in two days. No lippage and the courses are level across the full run.

Marble Mosaic With Under-Cabinet Lighting

Before

A Green Hills kitchen with shaker cabinets and no under-cabinet lighting. The existing splash was a dated 4 inch ceramic band, and the homeowner wanted a full-height marble mosaic feature wall behind the range.

After

Full-height marble mosaic on the range wall, ceramic tile on the surrounding runs, LED under cabinet lighting roughed in before tile and installed after grout. Three days total. Stone sealed twice before the walkthrough.

Problems we solve

Backsplash Problems We Fix in Nashville Homes

Most backsplash calls are not really about looks. They are about what the wall behind is doing. Here are the four we see most, and what we do about each.

Ask a pro →
01

Cracked grout lines running along the counter

We cut out the old grout at the counter joint, dry the wall, and replace it with a siliconized caulk that flexes with the counter. If the drywall is already soft, we cut it out and replace with cement backer board before re-tiling.

↗
02

Tile set directly on painted drywall

We remove the tile and the drywall behind it, install cement backer board per IRC wet-area requirements, and set the new tile on a proper substrate. It is more work up front and it is the reason the second install lasts.

↗
03

Outlets clipping the edge of a tile

We lay out the tile around the outlet boxes before setting, so each cutout lands centered in a tile field. Where an outlet needs to move, we coordinate with the electrician and rough it in before tile goes up.

↗
04

Lipped edges on large-format tile

We check wall flatness with a straightedge and laser level before setting, skim or re-board anything out of tolerance, and back-butter large tile. That is the whole fix, and it happens before a single tile is glued.

↗
Proof you can check

Licensed, Insured and Accountable

✓
Tennessee Home Improvement LicenseTennessee Board for Licensing Contractors
✓
Davidson County Contractor LicenseDavidson County / Metro Nashville
✓
EPA Lead-Safe Certified FirmU.S. Environmental Protection Agency
✓
OSHA 30-Hour Construction SafetyOccupational Safety and Health Administration
Good questions

Backsplash Questions Nashville Homeowners Ask

(615) 909-7503 →

Most Nashville backsplash jobs run $900 to $3,200 in 2026 for a standard 30 to 40 square foot splash, installed. Ceramic and subway tile sit at the low end. Porcelain large-format, marble mosaic and slab work push toward the top. Tear-out of existing tile, wall repair and outlet relocation add to the number. We quote by scope so you see the range before we start.

The right installer is the one who shows you a flat substrate, a laser-set layout and a caulked movement joint, not the one with the biggest ad. Ask how they prep the wall and what they use at the counter joint. We set on cement backer board in wet zones, caulk every movement joint, and walk the finished job with you before we pack up.

Porcelain tile and ceramic subway tile are the best all-around choice for Nashville kitchens. Both handle steam, grease and wiping, and both cost less than natural stone. Marble and travertine look great but need sealing every 6 to 12 months in a humid kitchen. Slab quartz or quartzite is the premium option and runs two to three times the tile price.

A standard 30 to 40 square foot backsplash takes one to two working days, plus a return visit for grout if the thinset needs a full cure. Large-format tile, herringbone patterns and slab work add a day. Wall repair behind the old splash can add another half day. We give you the day count at the walkthrough, not the morning of.

Ready when you are

Get Your Kitchen Backsplash Remodel Nashville TN Scheduled

We quote the job by scope, tell you the day count up front, and show up on the days we said. Licensed, insured and working across Davidson County. Call (615) 909-7503 and we will set a walkthrough, usually within a few days.

Get a Free Estimate (615) 909-7503 →
Request an appointment

Call our Nashville kitchen remodeler

Call (615) 909-7503 or email [email protected] and we will set up a walkthrough. We answer the phone during business hours and keep the 24/7 line open for emergencies. Most estimates get scheduled within a few business days, and we give you a written number before any work starts.

Call anytime(615) 909-7503Email the office[email protected]
Office hoursOpen 24 hours · 7 days a week
Request received — our team will be in touch shortly.
Tap to call(615) 909-7503